Learning to Blower Door Test, the Hard Way
May 05, 2025
By Noah Lawrence, Technical Trainer & Customer Success Lead, Retrotec
When I first entered the energy efficiency industry, I was a freshly certified, overly optimistic college grad who thought, "How hard could this home performance thing be?" So naturally, I started my own company.
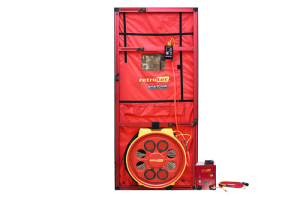
I had just completed an online course with a one-day in-person training, passed the exam, and purchased a shiny new set of energy auditing equipment—including a Retrotec 5100 blower door with a DM32 gauge. My first paid blower door test was booked, and I was excited. I lucked out: my cousin had just built a house with an apartment above the garage in a town that had only recently started enforcing New York State’s energy code blower door testing requirement.
I offered him a great deal—on two tests—and severely underpriced the value of what I was providing. That was lesson number one: Set a reasonable, well-defined price from the start. It’s much easier to offer a discount than to increase your price later. What should have been a simple test turned into an all-day saga of trial and error.
Rookie Mistakes (And the Wisdom They Bring)
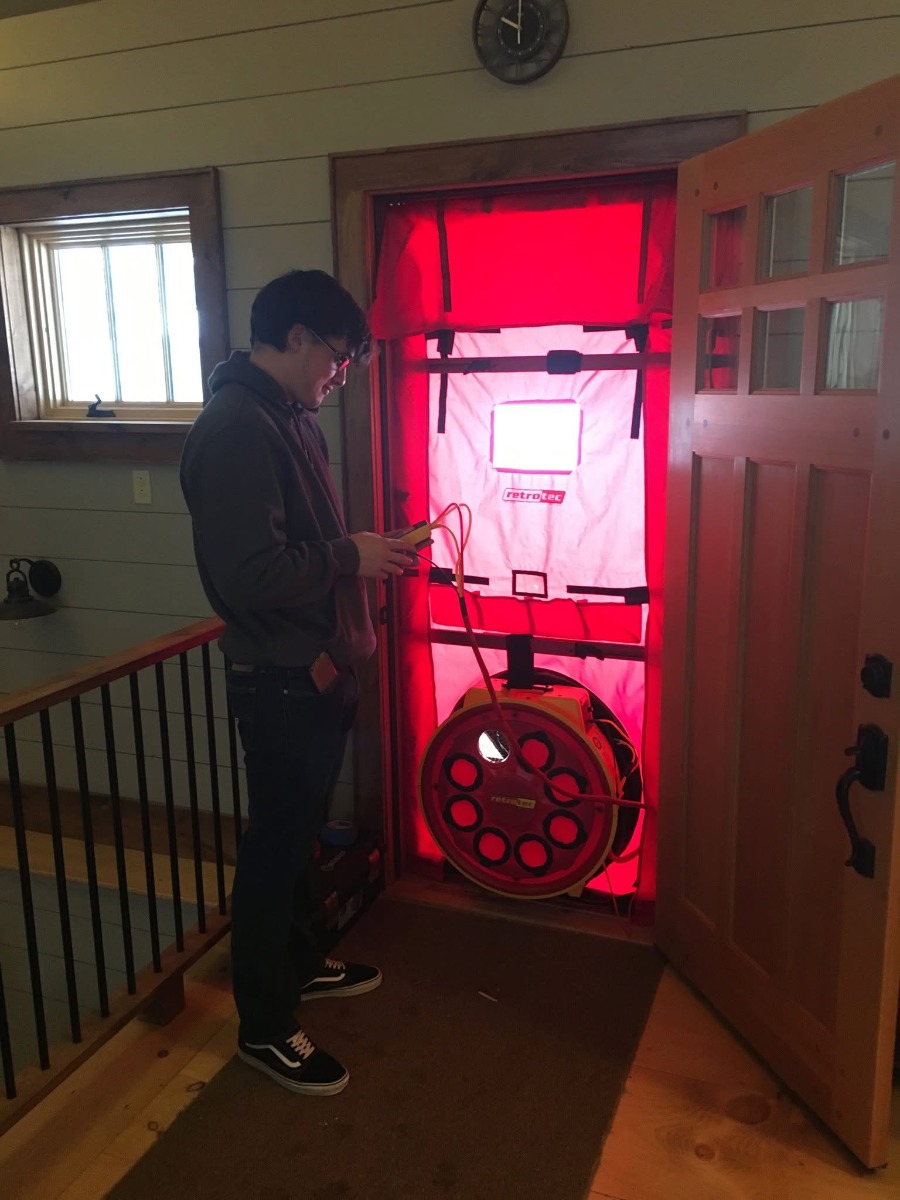
Armed with nothing but enthusiasm, a test report template I threw together the night before, and a blower door still sealed in the shipping box, I showed up on site. No ladder. No health and safety gear. No smoke generator, infrared camera, pressure pans, or flow boxes—just me, my fan, and my naive confidence.
First task: calculate the volume of the house for ACH50. At least I remembered how to do that from training. But I didn’t realize I could’ve saved myself a lot of time by requesting building plans in advance. With the right software or even a decent PDF reader, I could’ve done most of the math from my desk and only verified measurements onsite. Plan ahead. Always.
With volume calculated, and combustion appliances turned off, I started setting up the blower door. That’s when the real fun began. I assembled the frame incorrectly, wrapping the shroud before realizing the numbers didn’t line up. Had to disassemble and start over. Then I forgot to engage the cam levers, so when I ramped up the fan, it shot out of the doorway—onto me. Slow down! It’s more embarrassing to do it twice than it is to take your time, the builder doesn’t know how fast you should assemble the blower door.
Eventually, I got the fan running. I used the “Set Pressure to 50Pa” feature, but my Channel B reading showed “--”. I panicked, assuming the worst, and changed the fan range multiple times before I learned a crucial tip: If you see “--” on Channel B, try a smaller range. If you can’t reach 50 Pa, try a larger one.
When I finally got a CFM reading, I manually calculated the ACH at around 4.5—well over New York’s 3.0 ACH50 limit. So began the leak hunt.
Chasing Air Leaks Without the Tools
I had no fog, no IR camera—just my hands and a dream. I also had my DM32, but I didn’t know that it could be a powerful diagnostic tool itself, I just thought it was a piece of the blower door and it stayed connected the whole time.
We started the hunt at an obvious place, the fireplace. Yep, I forgot to close the damper. Rookie mistake. Then we found cellulose insulation on the basement floor near an unsealed chase that connected the basement to the attic. That took spray foam and foam board to fix, but here’s a bonus tip: Slow the blower door down or turn it off when sealing large leaks—airflow can push foam back at you.
After sealing the chase, we tested again—still around 4 ACH. Next leak: air behind the washer/dryer. Not the vent—those were sealed—but the drain trap, which was dry because the system had never been used. Same issue at the kitchen sink.
Pro tip: Double check your plumbing traps are filled or sealed before testing. A dry trap can leak air—and in some unfortunate situations, sewer gas.
Then we found another big leak: the ERV’s exhaust vent, which lacked a damper. We taped it off—a lucky guess at the time, but actually a valid technique for systems designed to run continuously. Finally, we were down to 3.5 ACH.
We kept hunting. One bedroom felt noticeably colder than the others after extended testing. The culprit? A pine V-joint ceiling with no drywall or air barrier behind it, right next to the vented attic. We also found exterior wall sheathing that wasn’t sealed to the foundation, especially on the front of the house.
At this point, half the day was gone. I wrote up the lowest number we could achieve (about 3.5 ACH50) in my homemade test report and moved on to the garage apartment. While homemade test reports and manual testing is a perfectly valid method of testing, I could have used rCloud to avoid that paperwork portion of the job, but I didn’t know what I didn’t know.
Bonus Round: The Apartment Above the Garage
The apartment also failed. A big reason was the incomplete air barrier between it and the garage. But before I could even run the test, I made one final mistake. When reconnecting the manometer, I swapped the yellow and green tubing—plugging the fan into the wrong port. Every range showed “--”.
Had I called tech support, they would’ve told me to switch Channel B to Pressure Mode. I would’ve seen a negative pressure value and realized:
The gauge only calculates flow from positive values. Always match the colored tubes to their ports.
Final Thoughts
At the end of the day, neither space passed. But we all learned more in those hours than any training course could teach. Since then, I’ve made it my mission to help others avoid learning things the hard way.
If you’re new to blower door testing, don’t worry—we’ve all been there. Want to get better? Take advantage of Retrotec’s online training courses, check out our YouTube channel, and explore the free resources available at retrotec.com.
Still have questions? Contact us at [email protected] or call 888-330-1345. We’re here to help you succeed—ideally before your blower door crashes onto your foot.