
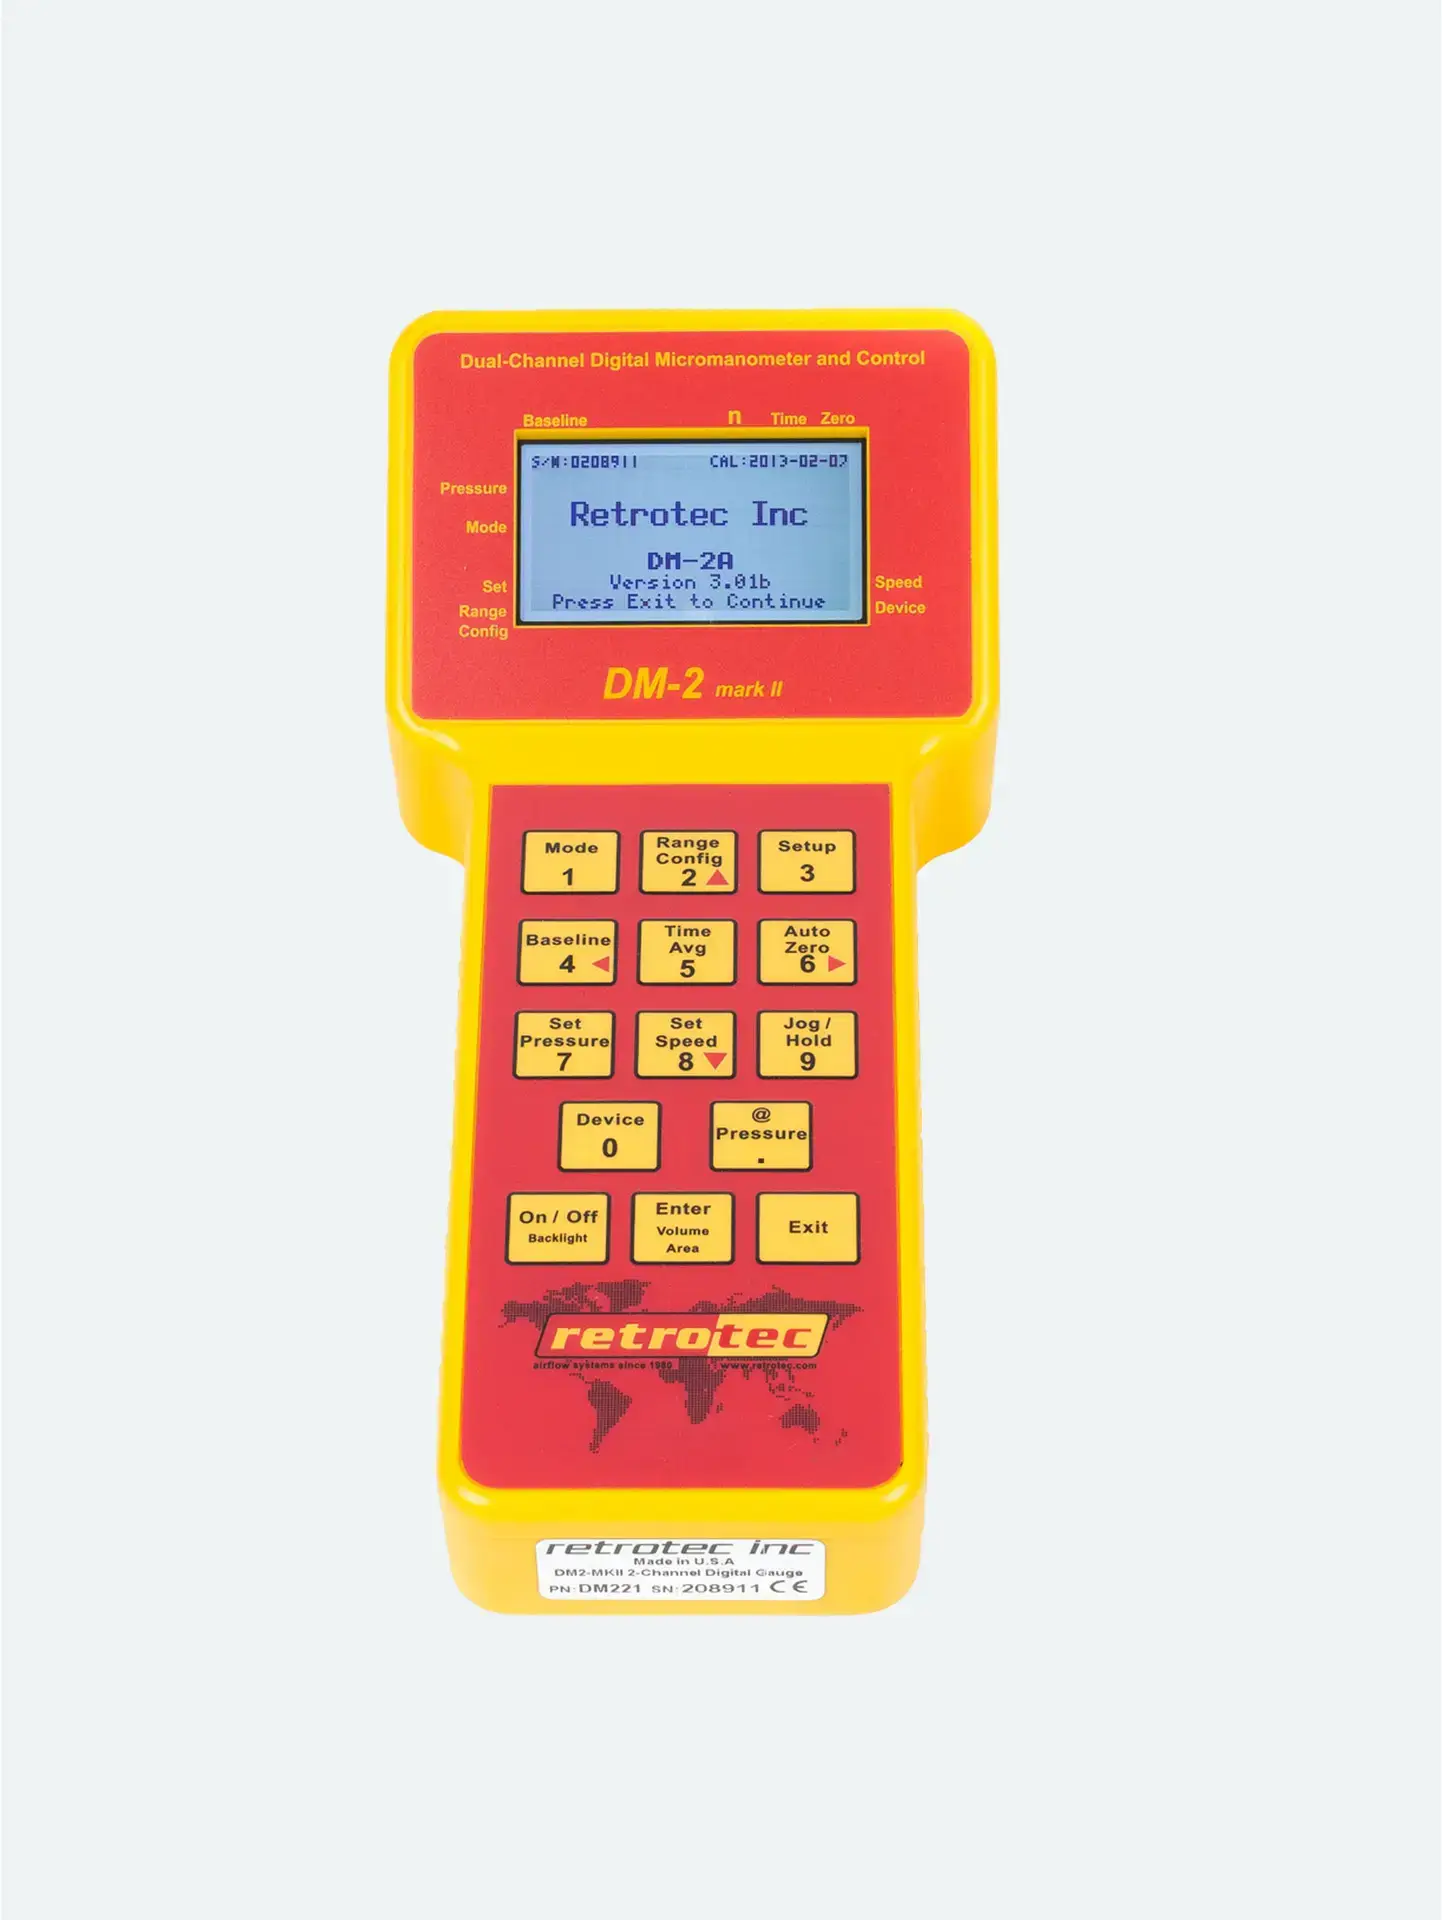
Get Exact Results with the @ Pressure Key
The @ Pressure feature allows the DM‑2 to extrapolate airflow (or leakage) results at a precise target pressure—even if the actual pressure hasn’t been reached. It’s ideal for leaky buildings or systems where hitting the setpoint is tough.
How It Works
Activate Set Mode
Use Set Pressure (or Set Speed) to establish your target test pressure (e.g., 50 Pa).
Approach the Target
Run the fan until you’re within about 10% of the setpoint (e.g., 45–55 Pa).
Press @ Pressure
The gauge switches from showing actual flow to extrapolated flow at exactly your target pressure (e.g., CFM @50 Pa). Press again to return to current flow display.
Toggle and Adjust
In Set Pressure mode, each keypress toggles between:
- Actual flow
Flow @ default pressure (e.g., 50 Pa)
Flow @ newly set pressure (e.g., 75 Pa), if changed via Set Pressure
Benefits of Using @Pressure
No need to reach exact pressure: Get valid results even if the system can’t hit your target directly
Enhanced stability: Extrapolated readings are less erratic than raw values
Efficiency: Save time by avoiding excessive fan adjustments, while still getting point-precise data
When to Use it and When Not to
Best Use Case: Actual pressure is within ±10% of target (e.g., 45–55 Pa for a 50 Pa setpoint).
Results remain accurate and valid.Avoid if you’re far below your target (e.g., only reaching 20 Pa); extrapolation becomes unreliable.
Quick Step Guide
| Step | Action |
|---|---|
| 1 | Press Set Pressure → input target (e.g., 50 Pa) |
| 2 | Run fan until you’re close (within ~10%) |
| 3 | Press @ Pressure to view Flow @50 Pa |
| 4 | Press again to toggle back to actual flow |
| 5 | Hold only briefly — toggle as needed during test |
