
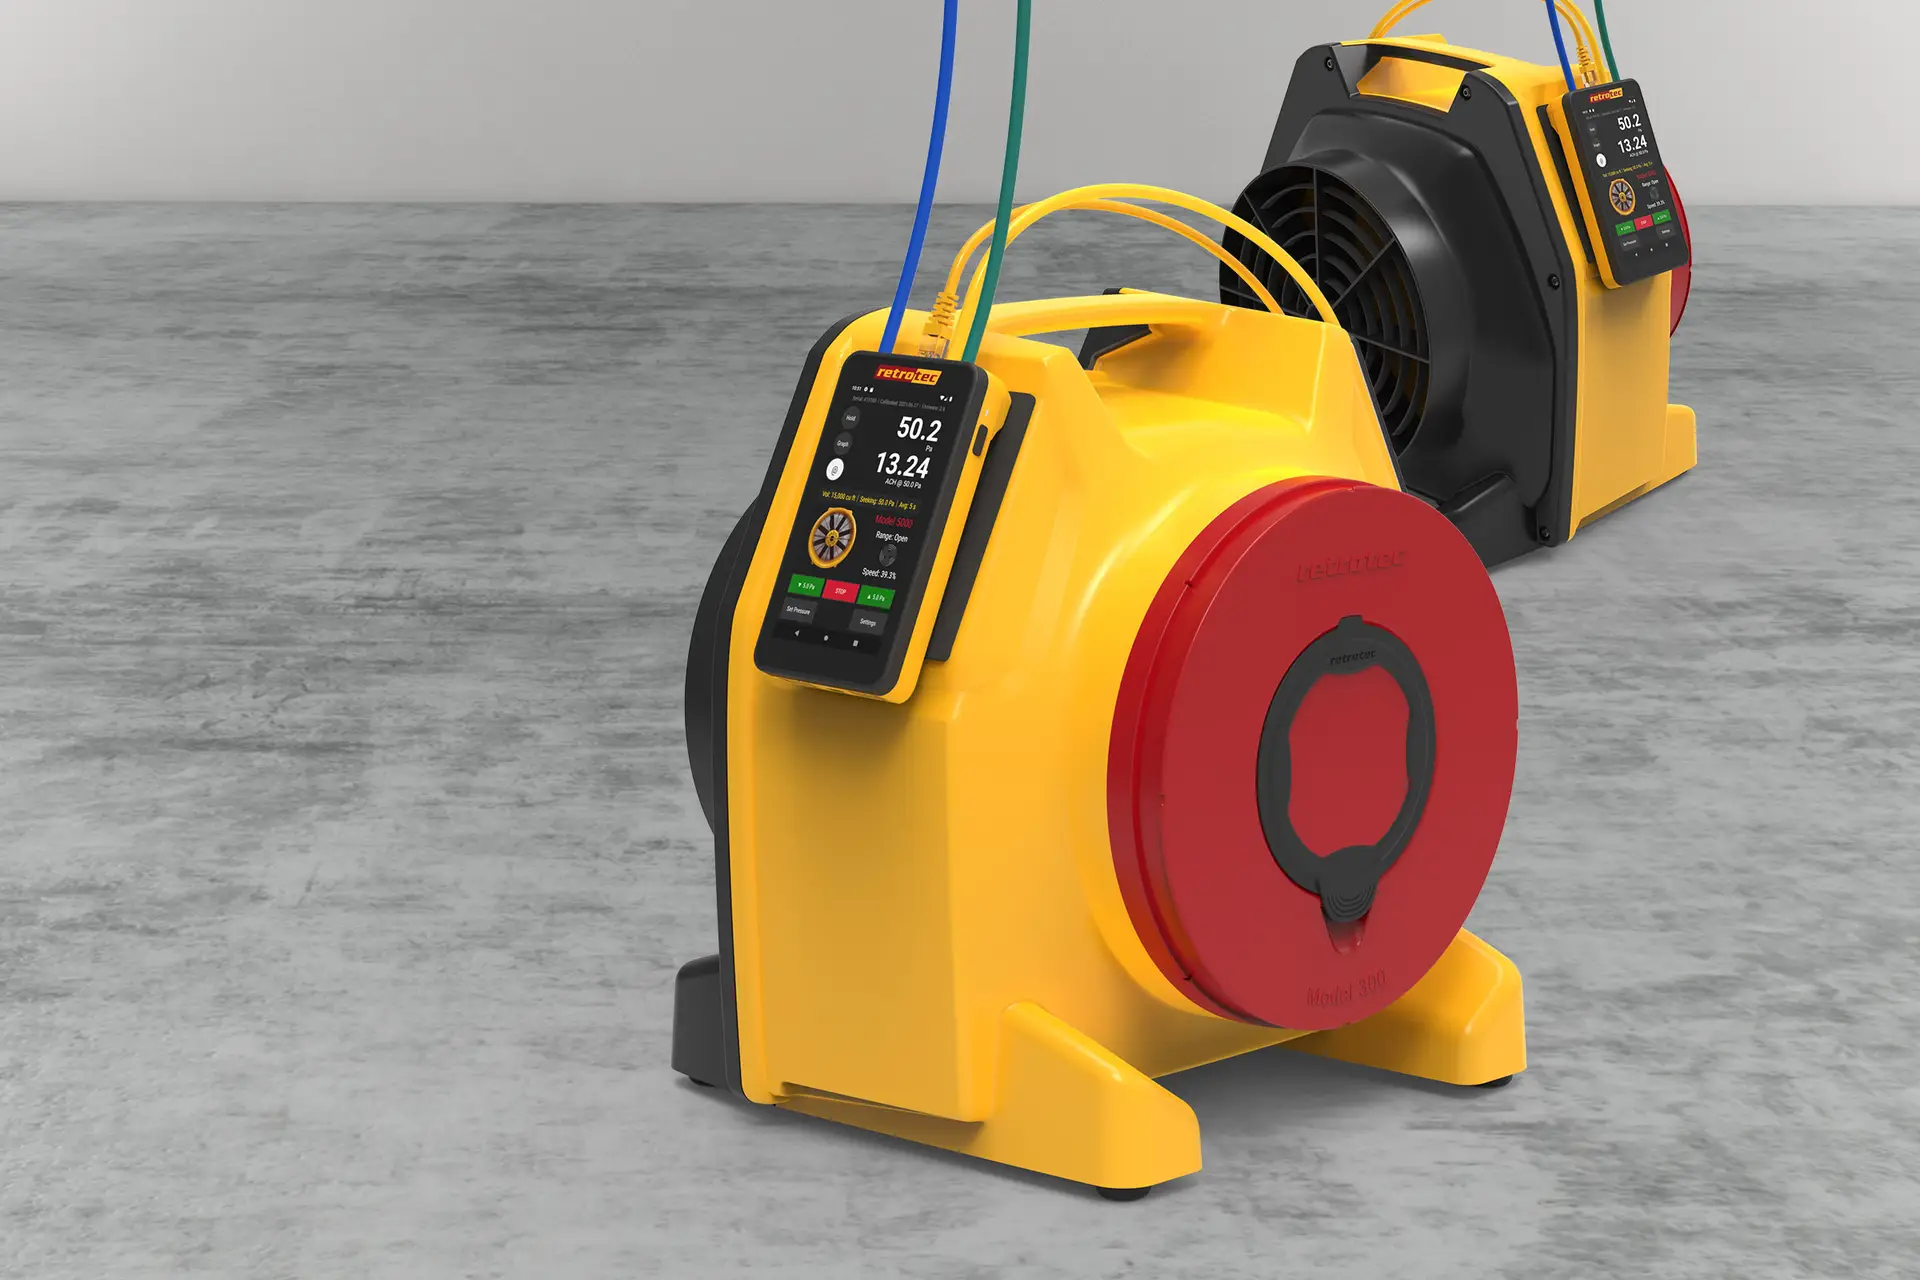
What You’ll Need
DM‑2 digital gauge (with full battery or USB power)
DucTester fan (Model 200)
Umbilical cable (pressure tubes + speed-control cable)
Flex duct and register flange
Connecting to the Gauge and Fan
Connect Pressure Tubing
Yellow tube → from the gauge’s Ref B (–) port to the fan’s Ref B bulkhead.
Green tube → from the gauge’s Input B (+) port to the fan’s Input B (if available).
Red tube (static pressure reference) → run through the door panel; this reads building pressure.
Connect Speed Control Panel
Plug the yellow control cable into the gauge’s Speed Control port.
Connect the other end to the Control port on the DucTester.
Power On and Test Communication
Power on the gauge and fan.
On the DM‑2, press Set Speed or Set Pressure to verify the fan responds. If it runs, control is confirmed.
Why this Step Matters
Ensures the gauge correctly reads both duct and building pressures.
Enables automatic fan control via the gauge using Set Pressure or Set Speed.
Proper setup avoids measurement errors and supports accurate duct leakage calculations.
Quick Checklist
- Yellow pressure tube: gauge → fan Ref B
- Green pressure tube: gauge → fan Input B (if present)
- Red tube: gauge → through door panel
- Speed-control cable: gauge ↔ DucTester
- Power gauge and fan
- Confirm fan controls from the gauge (e.g., Set Pressure)
