
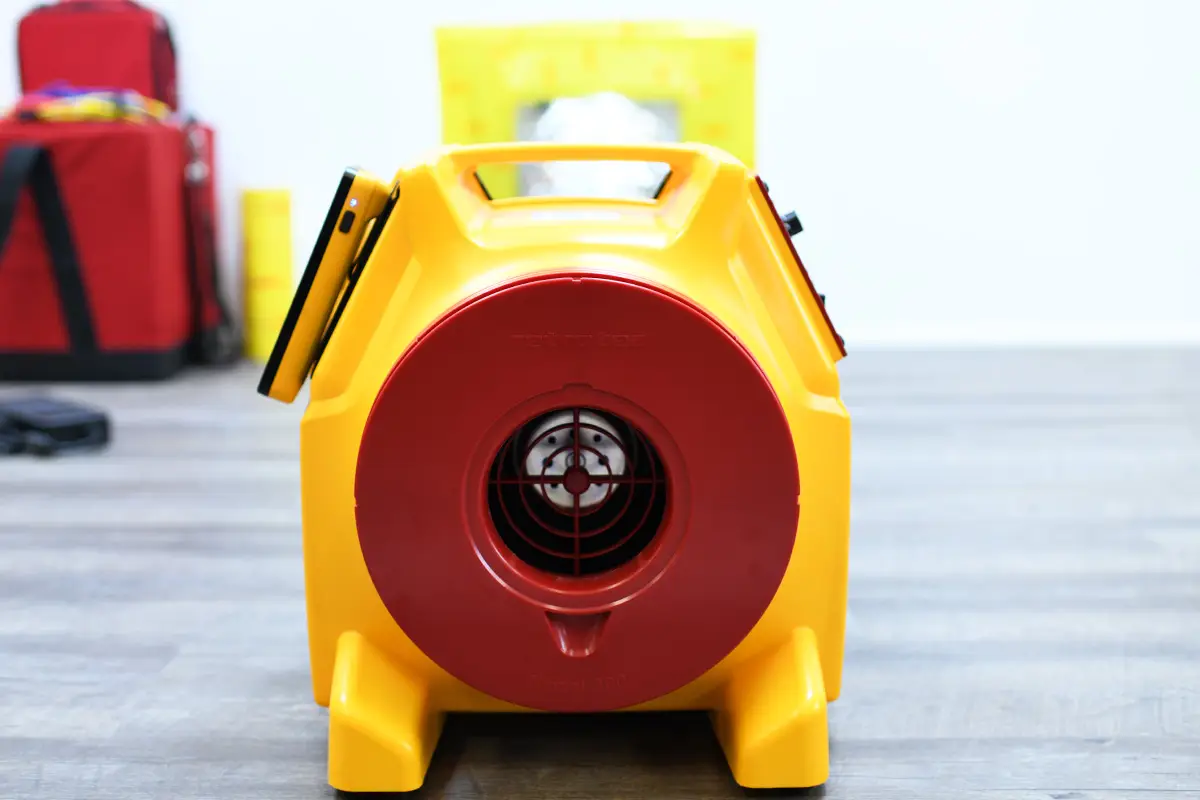
When to Perform the Check
Every time you use a new DucTester unit
Monthly if used frequently
Or after approximately 20 tests
Required Equipment
DucTester fan
Digital gauge (e.g., DM‑2 or DM‑32) with tubing
Calibration plate (a known-flow orifice—about 100 CFM at 25 Pa)
Flex duct and clamps
Step-by-Step Calibration Check
Attach Calibration Plate
Tape the known-flow plate securely to the flex duct flange on the DucTester outlet.
Choose Flow Range
Install a suitable flow plug or range ring (e.g., Mid/47).
Configure Gauge
Set the gauge to display CFM at 25 Pa, with ~8 s time averaging.
Run the Test
Power the DucTester and adjust fan speed until the gauge indicates 25 Pa on Channel A. Allow the duct to stretch fully, then wait ~30 s to stabilize.
Record the Flow Reading
The gauge will display CFM at 25 Pa. The expected value is 97–106 CFM—approximately 100 CFM ± 9%.
Troubleshooting: Common Errors
According to Retrotec, typical causes for out-of-range results include:
Wrong flow range or device selected (most common, can cause –80% to +400% errors)
Tubing leaks or incorrect connections
Pinched or blocked tubes
Small leaks in the flex duct
Gauge-specific offsets
Use the manual’s Problem/Solution checklist to diagnose and correct these issues.
Why it Matters
Confirms the DucTester and tubing offer accurate airflow performance.
Identifies setup mistakes before they affect test results.
Helps maintain test credibility—especially for compliance with codes and certifications.
