
How to Perform the Test
Prepare for Depressurization
Connect the flex-duct flange to the duct inlet.
Ensure all supply and return registers are properly sealed with grill mask.
Configure the Gauge
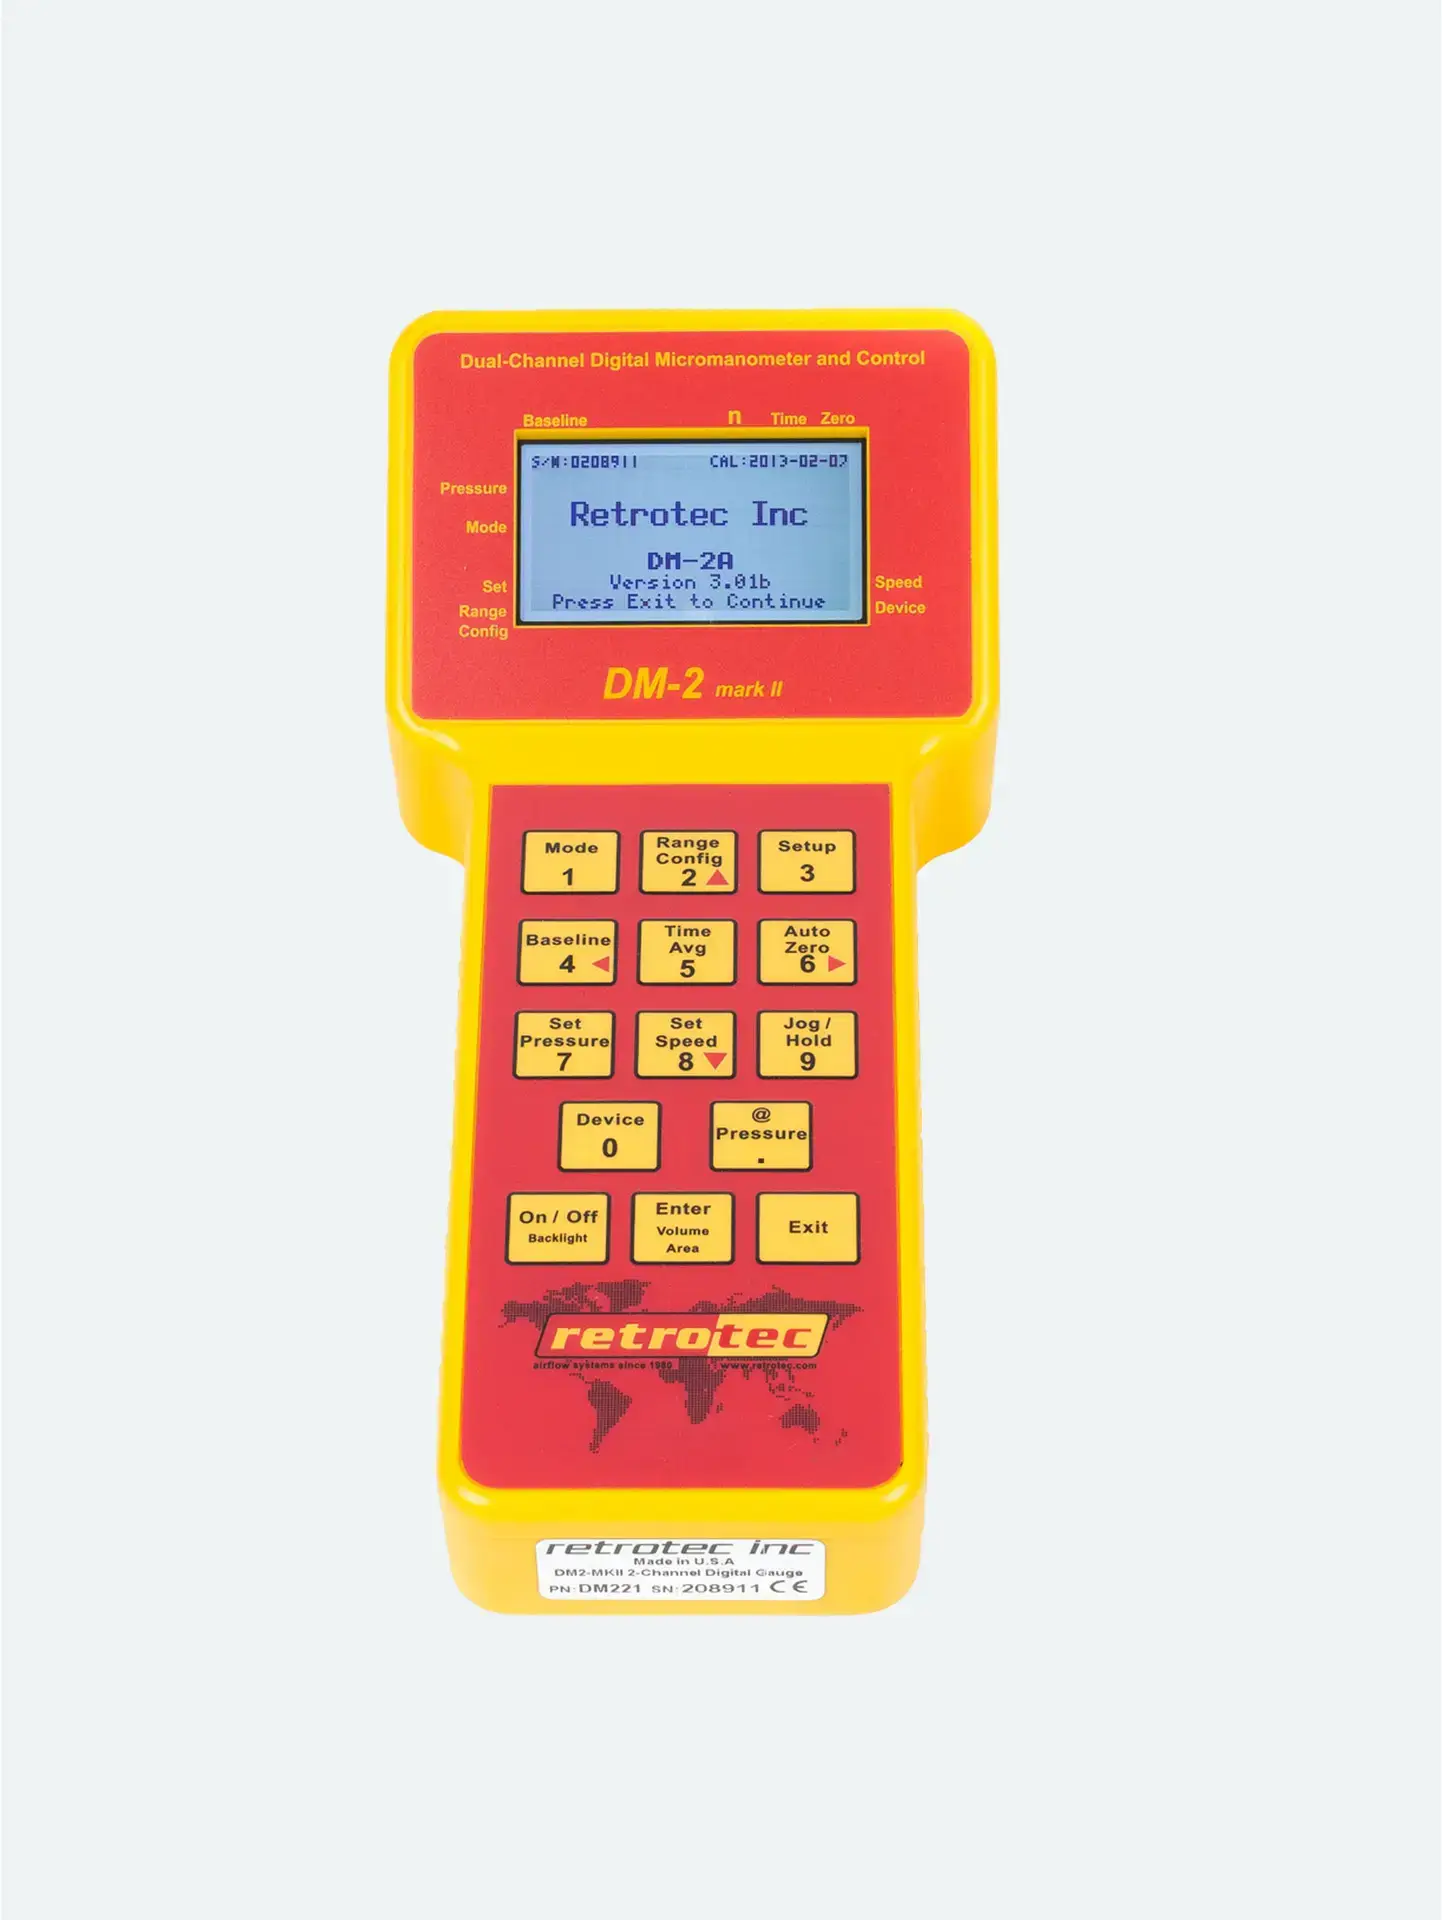
On the DM‑2 gauge, set time averaging to ~10 s.
Set the range configuration (Mid or Low) to match duct flow.
Ensure auto-zero is enabled, and the display shows the desired pressure units (e.g., CFM@25 Pa).
Disconnect the Speed Cable
- Unplug the fan’s speed control cable to allow manual control via the knob.
Adjust Fan Speed Manually
- Turn the speed control knob until the target duct pressure appears on Channel A (e.g., 25 Pa).
- If the gauge shows “TOO LOW” or pressure doesn’t reach the target:
- Switch to a more restrictive range ring.
- Or install a smaller-hole plate and retry.
Stabilize and Capture Data
Maintain the set pressure until readings stabilize (typically 20–60 s depending on conditions).
Record the airflow reading (e.g., CFM@25 Pa) from Channel B.
Troubleshooting Tips
If the target pressure isn’t reached at full speed:
Confirm all registers are sealed.
Try a less restrictive range (Open).
If Channel B shows “TOO LOW”:
The flow is insufficient for the current range—install a more restrictive plate and adjust again ([turn0search3]).
If fan speed isn’t responding:
Check power connection.
Ensure the speed cable is fully disconnected or reconnected according to test setup.
Why this Matters
Manual mode offers a reliable backup method when automatic control fails or is unavailable.
Proper pressure control by knob ensures meaningful, repeatable data even without software.
Flexibility—this mode supports nearly all rapid residential duct leakage testing protocols.
