
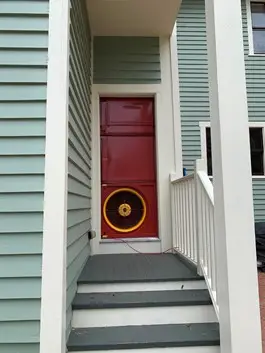
Part one of this Hard Panel assembly guide covers the installation of the fan panel.https://youtu.be/8Ylg9ZCgMyQ
What You’ll Learn
Unboxing and Layout
The presenter begins by identifying the key components—namely, the sturdy fan panel, designed with a pre-cut opening for the blower fan—and lays everything clearly across the doorframe.
Positioning the Panel
The panel is placed flush against the floor in the doorway. Its adjustable tension straps are extended outward toward the door jambs, then pulled tight to anchor the panel firmly. The video emphasizes even tension to prevent wrinkles or gaps.
Securing for a Tight Seal
After aligning, cleats or locks are secured, keeping the panel flat against the frame. A meticulous inspection ensures no light shines through—guaranteeing the airtight integrity essential for accurate pressure testing.
Prepping for Fan Mounting
With the fan panel installed and tensioned, the stage is set for the next phase: attaching the blower fan into the pre-cut opening. The video concludes by previewing Part 2, where seamless integration of the rest of the panels takes place.
Why this Matters
Foundation of accuracy – A perfectly installed fan panel ensures airtight conditions and improves test reliability.
User-friendly design – The tension-strap system enables a snug fit across varied doorframe sizes, even for first-time users.
Professional presentation – Lays the groundwork for a polished, client-ready setup.
