
Unpack and Power Up
- Open the DucTester kit case and remove all components: fan, gauge, umbilical (pressure tubes + speed control cable), flex duct with flange, range rings, grill masking tape, battery charger, and power cords.
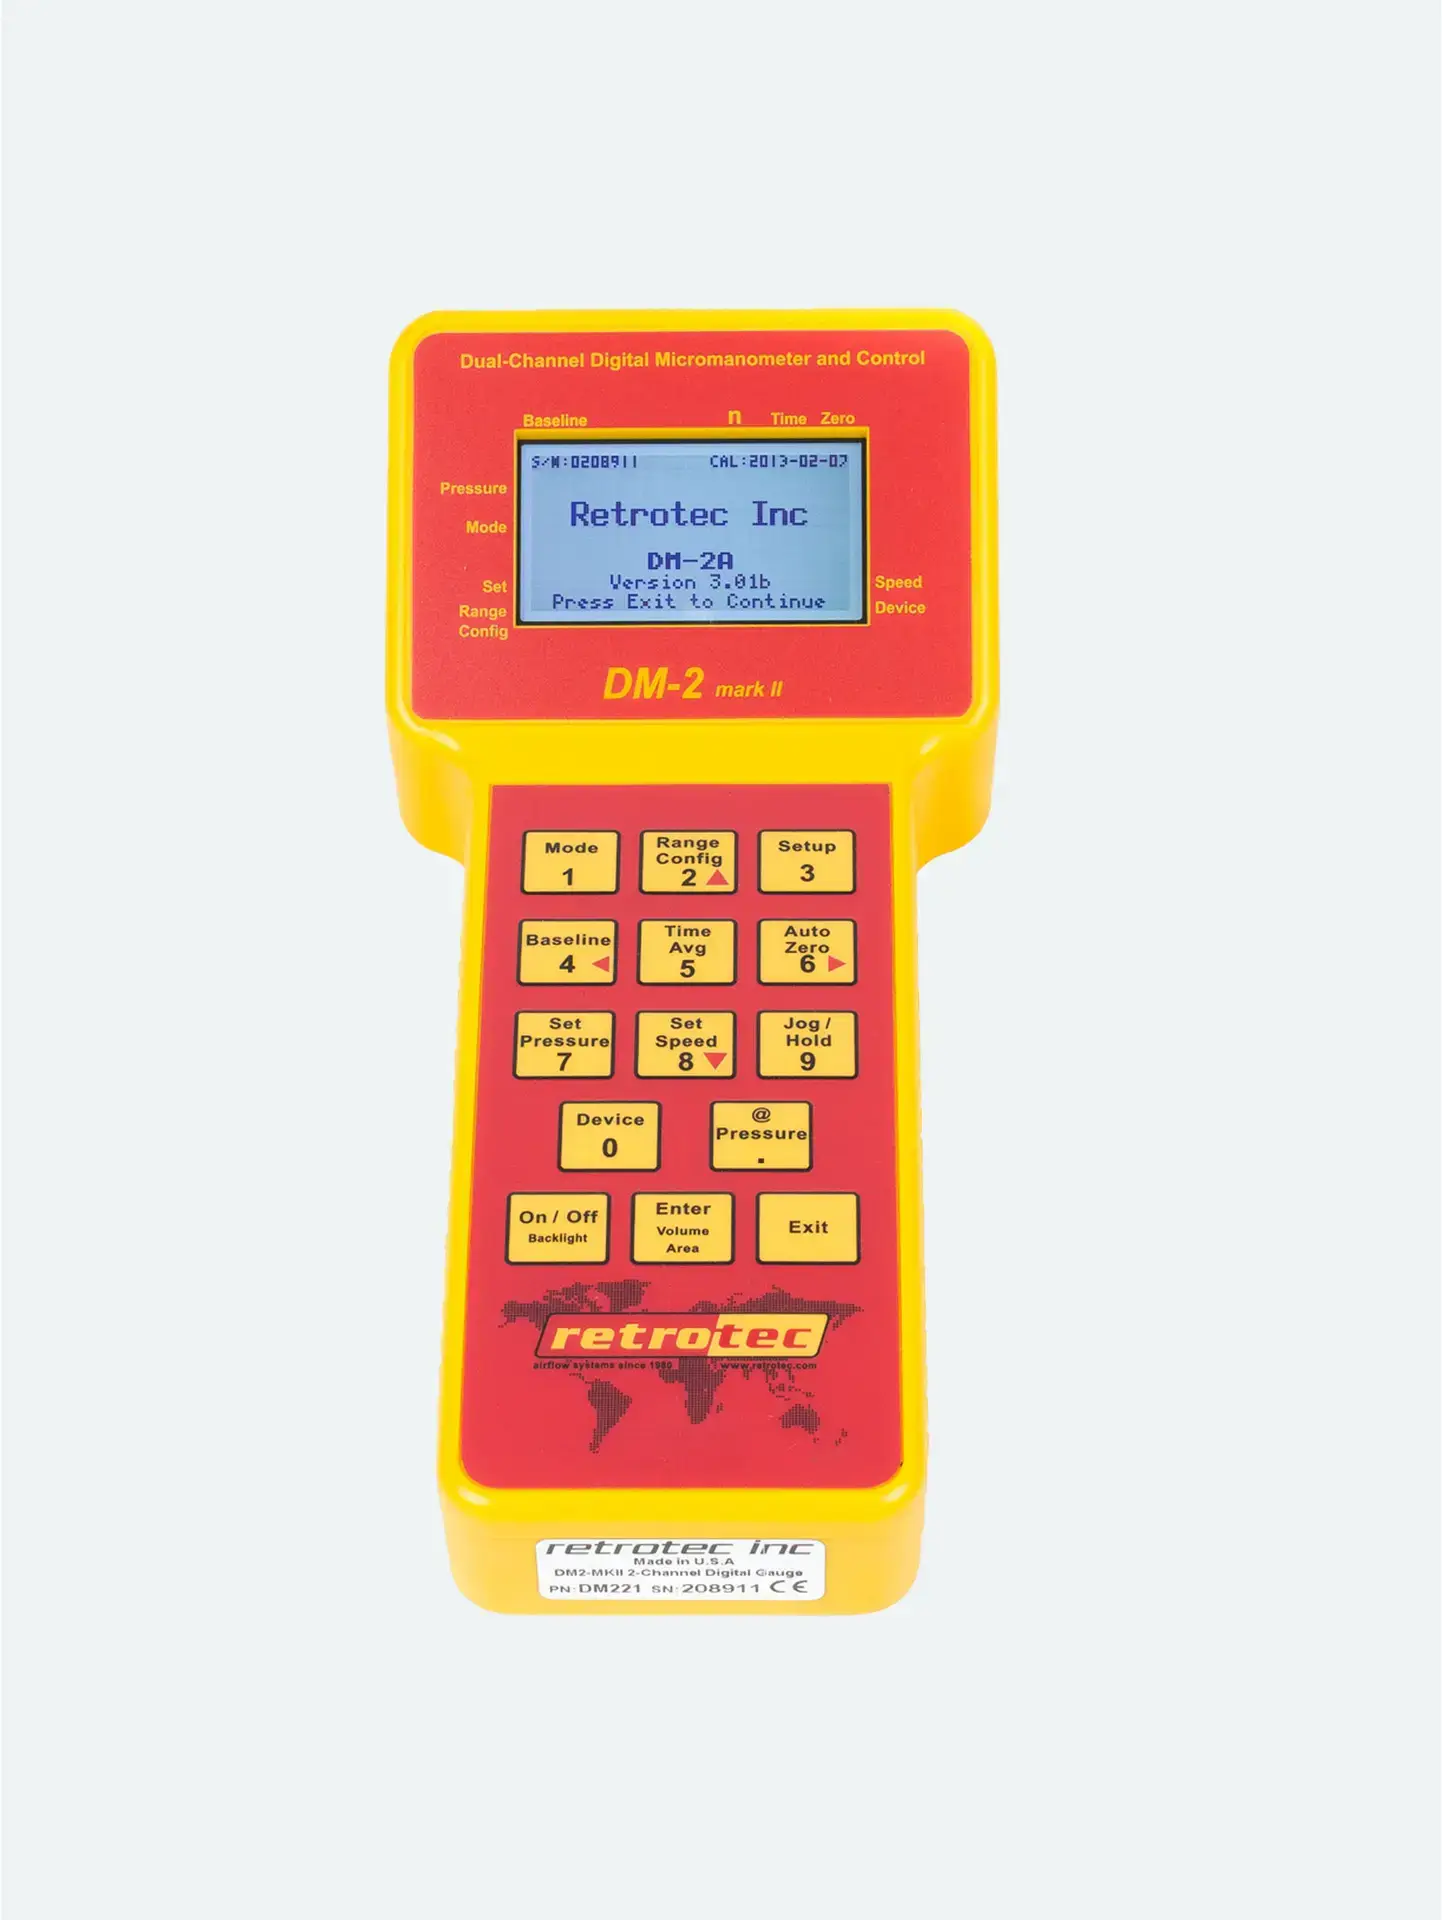
- Install the four NiMH AA batteries (if not built-in) in the DM‑2 gauge, then connect the included 9 V adapter. Press On, then Exit, to display and check the battery status. Let it charge fully (typically overnight).
Connect Pressure Tubing
Take the umbilical, which bundles yellow, green, and blue pressure tubes plus the CAT-5 speed-control cable.
Plug tubes into color-coded ports on the DM‑2:
Yellow → Ref B (–)
Green → Input B (+)
Blue → Input A (duct register pressure)
- Connect the other ends to matching ports on the DucTester fan.
Secure the Gauge and Umbilical
Place the DM‑2 into its clear sleeve within the kit case.
Fasten the umbilical cable with the Velcro strap to minimize strain and avoid accidental disconnections.
Why this Step Matters
Ensures proper pressure-channel mapping, critical for accurate house and duct pressure readings.
A charged gauge prevents mid-test power loss and unstable readings.
A secured umbilical ensures reliable electrical and airflow measurements throughout testing.
Quick Pre-Test Checklist
| Task |
|---|
| All components unpacked? |
| DM‑2 charged and powered on? |
| Yellow, green, blue tubes connected? |
| Umbilical secured to case? |
